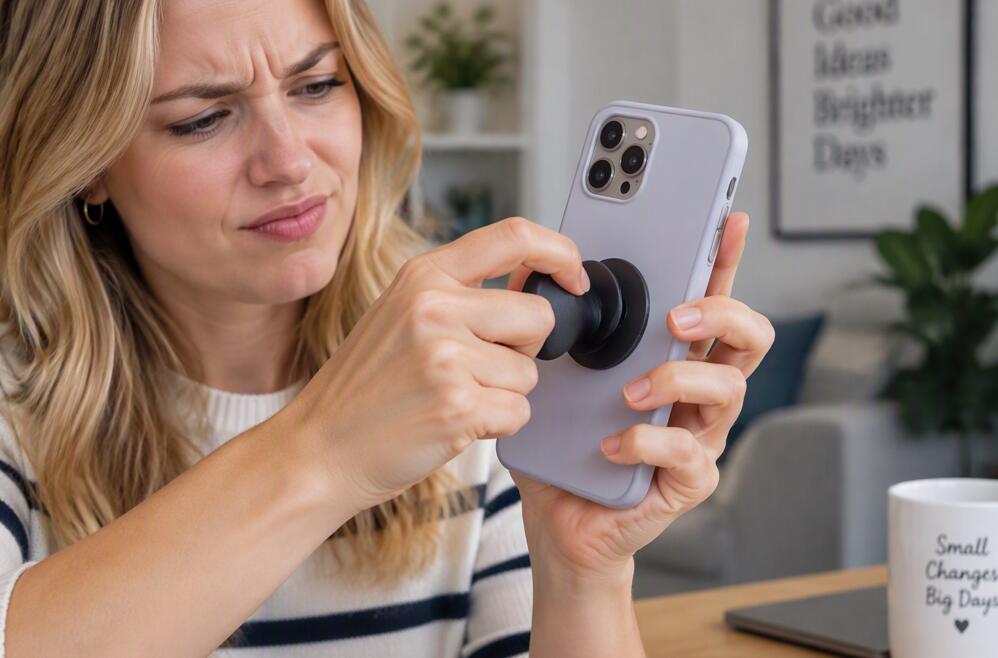
How do you remove a PopSocket from your phone case?
Welcome to Blackview (Well-known brand of rugged smartphone, such as rugged phone with eSIM, rugged phone with projector, and Android 16 rugged phone, etc.) blog. Hope this guide has been helpful.
PopSockets are popular phone accessories that provide a comfortable grip, improve one-handed handling, and make it easier to prop up a phone for watching videos or taking photos. However, there may come a time when you want to remove your PopSocket to replace it with a different design, change your phone case, reposition the accessory, or clean the surface underneath. Although removing a standard adhesive PopSocket is usually straightforward, pulling it off incorrectly can damage the accessory, leave sticky residue, or even harm a delicate phone case.
- Read also: How to get nail glue off your phone case?
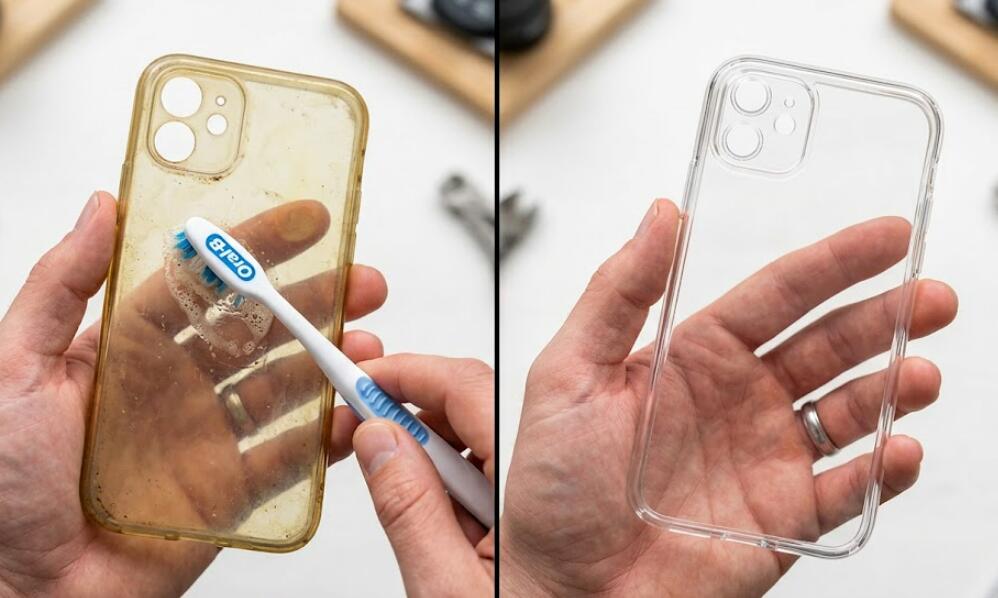
- How to clean a clear phone case that turned yellow?
- How to turn on phone with broken power button?
- How to turn off emergency alerts on Android?
The removal process depends on the type of PopSocket you have. Traditional PopSockets typically use an adhesive base attached directly to the phone case, while magnetic PopSockets are designed to detach from a compatible magnetic mount. Understanding this difference is essential before you begin. With the right technique, a little patience, and a few simple tools, you can remove either type safely and prepare your phone case for reuse without unnecessary scratches, bending, or adhesive damage.
How to remove a standard adhesive PopSocket
A traditional adhesive PopSocket is attached to the back of your phone case with a reusable or replaceable adhesive disc, depending on the model. The key to removing it safely is to loosen the adhesive gradually rather than pulling the accessory straight upward. Excessive force can damage the adhesive base or cause a thin phone case to stretch or crack.
Step-by-step removal instructions
- Step 1: Collapse the PopSocket. Push the expandable grip into its closed position. This makes the accessory easier to handle and reduces the risk of accidentally bending its moving parts.
- Step 2: Remove the phone case if possible. Taking the case off the phone gives you more room to work and protects your phone from accidental pressure. Place the case on a clean, flat surface.
- Step 3: Locate the edge of the adhesive base. Gently lift an accessible edge using your fingernail. Avoid using sharp metal tools, knives, or screwdrivers, which can scratch the case or damage the adhesive disc.
- Step 4: Slowly peel back the base. Work around the edge and gradually separate the adhesive from the case. Keep the accessory close to the surface rather than pulling it sharply upward.
- Step 5: Use gentle assistance if needed. If the adhesive feels especially strong, carefully work a piece of dental floss or thin, flexible plastic under the edge to help separate the adhesive. Do not force the tool against the case.
- Step 6: Remove the remaining adhesive. If sticky residue remains, gently rub it away with your fingertips or a soft cloth. For stubborn residue, use a small amount of suitable adhesive cleaner only after checking that it is safe for your case material.
- Step 7: Clean and inspect the surface. Wipe the case with a soft cloth, following the manufacturer's cleaning recommendations. Allow it to dry completely before attaching another accessory.
Once the PopSocket is removed, inspect both the adhesive base and the phone case. Some adhesive bases can be reused if they remain clean and retain their stickiness, while others may need a replacement adhesive. Avoid touching the adhesive surface unnecessarily, as oils and dust from your fingers can reduce its ability to stick again.
How to remove a magnetic PopSocket
Magnetic PopSockets are generally easier to remove because they are designed to detach from a compatible magnetic mounting surface. Instead of peeling adhesive away from the phone case every time, you can usually separate the magnetic accessory from its mount. However, different magnetic PopSocket models may use different mounting systems, so check the product instructions if you are unsure how yours connects.
Step-by-step removal instructions
- Step 1: Hold your phone securely. Place one hand around the phone or support it on a soft, flat surface to prevent it from slipping during removal.
- Step 2: Identify the magnetic connection. Determine where the PopSocket attaches to the magnetic mount. Do not assume that every model uses the same release mechanism.
- Step 3: Grip the accessory firmly. Hold the PopSocket near its base rather than pulling on the expandable grip alone.
- Step 4: Gently separate the magnetic components. Follow the manufacturer's recommended removal direction. Depending on the model, this may involve pulling the accessory away from the mount or gently sliding it to release the connection.
- Step 5: Check the mounting surface. Inspect the phone case or magnetic adapter for dust, debris, or damage. Wipe away loose particles with a soft, dry cloth.
- Step 6: Store the accessory safely. Keep the detached PopSocket in a clean location away from dirt and objects that could scratch its surface.
Remember that removing a magnetic PopSocket from its mount is different from removing a magnetic mounting plate that is adhesively attached to your phone case. If you want to remove the entire mounting system, you may still need to follow the adhesive-removal procedure described above. Do not attempt to pry off a mounting plate as though it were a detachable magnetic accessory.
How to remove stubborn adhesive without damaging your phone case
Some PopSockets are difficult to remove because the adhesive has been attached for months or has been exposed to heat, pressure, and everyday use. A rigid plastic case may tolerate gentle peeling, but a thin, flexible, painted, leather, or decorative case may require extra care. Start with the least aggressive method and stop if the material begins to bend, discolor, or peel.
- Use your fingertips first. Slowly roll or lift the adhesive from an exposed edge instead of scraping aggressively.
- Try dental floss or flexible plastic. These materials can help separate adhesive while reducing the risk of scratches compared with metal tools.
- Avoid excessive heat. High temperatures from a hair dryer or heat gun may warp plastic, damage finishes, or affect the phone if the case remains attached. Heat should not be necessary for most routine removals.
- Choose cleaners carefully. Alcohol and commercial adhesive removers may damage painted finishes, soft-touch coatings, leather, or certain plastics. Check the case manufacturer's guidance and test any permitted cleaner on an inconspicuous area first.
- Never force the accessory off. If the case starts to stretch or crack, pause and change your approach rather than increasing the pulling force.
For a particularly stubborn adhesive base, removing the case from the phone before continuing is usually the safest option. This allows you to concentrate on the case itself without placing unnecessary pressure on the device.
Can you reuse a PopSocket after removing it?
Whether a PopSocket can be reused depends on its design and the condition of its adhesive or magnetic components. Many standard adhesive PopSockets are designed to be repositioned under suitable conditions, but repeated removal can reduce the adhesive's effectiveness. Magnetic models are generally easier to detach and reattach because their primary connection does not rely on repeatedly peeling adhesive.
- Inspect the adhesive. If the adhesive is dirty, damaged, stretched, or no longer tacky, you may need a compatible replacement adhesive rather than attempting to force it to stick.
- Keep the base clean. Avoid touching the adhesive with your fingers or placing it on dusty surfaces.
- Check compatibility. A replacement adhesive or magnetic mount must be compatible with your particular PopSocket model and phone case.
- Allow the attachment to set. Follow the manufacturer's installation instructions, including any recommended waiting period before using the accessory.
If your PopSocket will not stay attached after removal, replacing the appropriate adhesive component is usually more reliable than using household glue or other improvised adhesives. Strong glue can permanently damage the case and make future removal much more difficult.
Common mistakes to avoid when removing a PopSocket
Even a simple removal can go wrong if you use the wrong technique. Pulling too hard, inserting a sharp object beneath the base, or applying an incompatible cleaning product can damage both the accessory and the case. Taking a few precautions helps preserve the appearance and functionality of your phone accessories.
- Do not pull sharply upward. Gradual separation reduces stress on the adhesive and case.
- Do not use sharp metal tools. They can scratch surfaces and create cracks in rigid or thin cases.
- Do not confuse the magnetic accessory with its mounting plate. Detaching the accessory usually requires a different technique from peeling off an adhesive-mounted base.
- Do not apply random solvents. Some chemicals can discolor or soften the case material.
- Do not assume the adhesive will work indefinitely. Repeated repositioning and contamination can weaken its grip.
Final thoughts
Removing a PopSocket does not have to be difficult. For a standard adhesive model, collapse the grip, expose an edge, and gradually peel the base away using your fingers or a suitable flexible tool. For a magnetic model, identify the magnetic connection and detach the accessory according to its design. If the mounting plate itself is adhesive-backed, treat it like a standard adhesive attachment rather than trying to pry it off.
The most important rule is to work slowly and avoid unnecessary force. Protect your phone by removing the case whenever practical, use gentle cleaning methods, and check the manufacturer's recommendations before applying heat or chemicals. With these precautions, you can remove your PopSocket, clean your phone case, and decide whether to reuse the accessory, replace its adhesive, or switch to a different mounting system without risking avoidable damage.