How to Use a Thermal Imaging Phone to Analyze Insulation Performance Differences Between Rooms?
Welcome to Blackview (World's well-known brand of rugged smartphones, including thermal camera phone, rugged phone with projector, and rugged phone with eSIM, etc.) blog. Hope the guide helps.
Understanding how well different rooms retain heat is essential for improving home energy efficiency, reducing heating costs, and maintaining indoor comfort. A thermal imaging phone provides a practical way to identify temperature variations across walls, windows, ceilings, floors, and other surfaces. By converting infrared radiation into visual temperature maps, this technology helps homeowners detect potential insulation weaknesses that are difficult to recognize with the naked eye. Comparing thermal images from multiple rooms can reveal where heat escapes most quickly and which areas require further investigation.
- Read also: How can you obtain more accurate temperature readings on a thermal imaging phone?
- How to Use a Thermal Phone to Detect Heat Loss After Enclosing a Balcony?
- How to use a Thermal Phone to locate areas on a radiator that are not heating up?
- How to quickly locate the heat source of a TV box that is overheating using a thermal phone?
However, obtaining meaningful results requires more than simply pointing a thermal camera at different surfaces. Indoor temperature, outdoor weather, heating conditions, surface materials, and camera settings can all influence thermal readings. A systematic approach helps ensure that comparisons are consistent and reliable. This guide explains how to prepare your thermal camera smartphone, examine different rooms, interpret temperature patterns, and use the findings to evaluate insulation performance more effectively.
Understanding How Thermal Imaging Reveals Insulation Differences
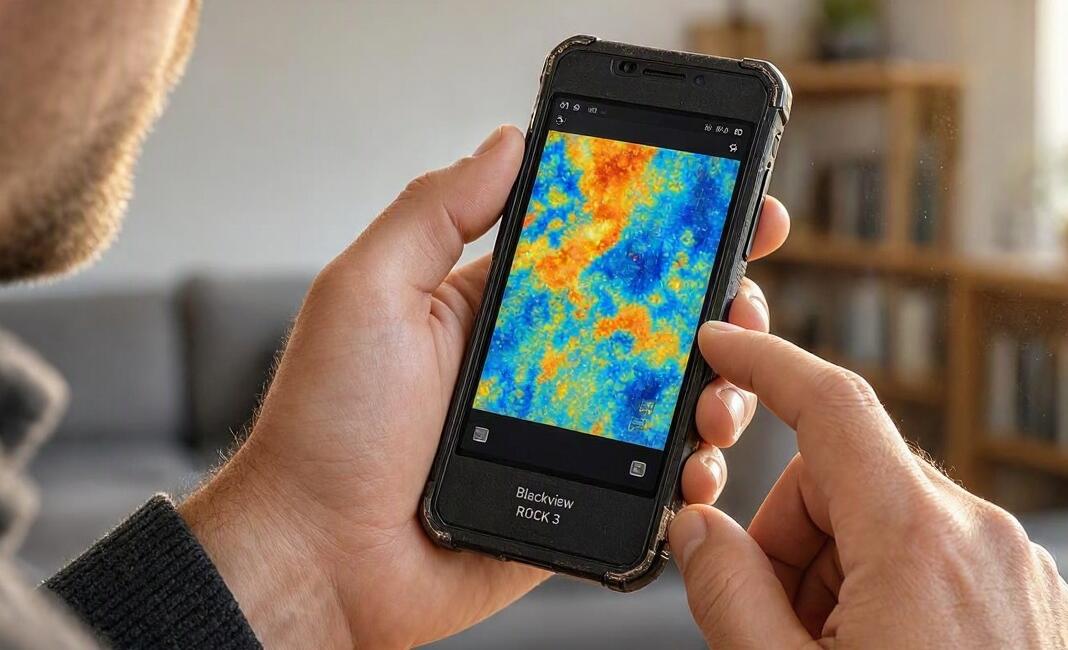
Thermal imaging cameras detect infrared radiation emitted by objects and translate it into colors representing apparent surface temperatures. Depending on the selected color palette, warmer areas may appear yellow or red, while cooler areas may appear blue or purple. These visual differences help identify possible thermal bridges, poorly insulated sections, air leakage pathways, and uneven heat distribution.
When comparing rooms, it is important to understand that thermal images measure surface temperatures rather than directly measuring insulation thickness or heat loss. A cold wall could indicate inadequate insulation, but it might also result from air infiltration, moisture, or differences in surface materials. Therefore, thermal imaging should be treated as a diagnostic tool rather than definitive proof of insulation failure.
Preparing Your Thermal Imaging Phone for Accurate Measurements
Before beginning the inspection, prepare the device and establish consistent environmental conditions. A thermal imaging attachment or smartphone with an integrated infrared sensor can provide useful comparative information, provided its resolution and temperature accuracy are suitable for the task.
Follow these preparation steps:
- Check that the thermal imaging application and camera firmware are updated.
- Charge the smartphone to enough power, and ensure that the thermal imaging sensor is securely connected.
- Choose a consistent temperature scale and color palette for every room.
- Set the temperature measurement range appropriately to avoid losing visible details.
- Allow the camera to stabilize according to the manufacturer's recommendations.
- Keep heating settings relatively consistent throughout the inspection.
- Close exterior doors and windows to minimize temporary temperature disturbances.
- Record indoor and outdoor temperatures, inspection times, and relevant weather conditions.
For more reliable comparisons, inspect rooms under similar heating conditions and avoid taking measurements immediately after opening windows or changing thermostat settings. A meaningful indoor-outdoor temperature difference also makes insulation problems easier to identify.
Comparing Insulation Performance Across Different Rooms
Once the equipment is ready, examine each room using the same inspection pattern. Focus on surfaces that commonly contribute to heat loss, including exterior walls, window frames, ceiling corners, floor junctions, and doors.
Inspecting Walls, Windows, and Doors
Start by capturing thermal images of the main exterior wall in each room. Pay attention to unusually cold patches, vertical temperature differences, and cooler areas around electrical outlets. These patterns may indicate insulation gaps or air leakage.
Next, examine windows and doors. Look for cold bands around frames, uneven temperatures along window edges, and noticeable differences between glazing and surrounding wall surfaces. These observations can help distinguish potential insulation problems from localized air infiltration.
Checking Ceilings and Floors
Ceilings and floors can reveal additional weaknesses, particularly in rooms beneath unheated attics or above garages and crawl spaces. Compare corners, perimeter sections, and central surfaces. Consistent temperature differences between rooms may indicate variations in insulation quality or building construction.
Interpreting Thermal Images and Identifying Common Problems
Thermal images become more useful when temperature patterns are interpreted systematically rather than judged by color alone. Compare equivalent surfaces, examine the temperature scale, and use the application's spot-measurement or area-analysis functions when available.
Common patterns include:
- Cold wall sections: May indicate missing insulation, thermal bridging, or air infiltration.
- Cold window edges: May suggest inadequate frame insulation, damaged seals, or conductive heat transfer.
- Uneven ceiling temperatures: Could indicate inconsistent attic insulation or air leakage.
- Cold floor boundaries: May point to heat loss through poorly insulated floors or foundation connections.
- Localized irregular patterns: May indicate moisture-related issues or concealed building defects requiring further investigation.
Remember that reflective materials, sunlight exposure, radiators, and furniture can distort apparent temperature readings. Surfaces with different emissivity values should not be compared as though they were identical. When possible, measure similar materials from comparable distances and angles.
Turning Inspection Results into Practical Energy Improvements
After inspecting all rooms, organize the thermal images into a comparison report. Record room names, surface locations, apparent temperatures, indoor conditions, and observed irregularities. A simple spreadsheet can help identify recurring patterns and prioritize areas requiring attention.
For example, if one bedroom consistently shows colder exterior walls than another bedroom under similar conditions, investigate differences in wall construction, window sealing, and insulation continuity. Prioritize improvements according to the severity of the temperature patterns, the affected surface area, and the potential impact on indoor comfort.
Possible improvements include sealing gaps around windows and doors, upgrading attic insulation, improving weatherstripping, and consulting an insulation professional about suspected thermal bridges. If moisture or mold is suspected, investigate the underlying cause before adding insulation or sealing the affected area.
For more detailed evaluations, combine thermal imaging with a professional energy audit, blower-door testing, or moisture measurements. These methods can help confirm whether the temperature differences are caused by insulation deficiencies, uncontrolled air movement, or other building-related issues.
Conclusion
Using a thermal imaging phone to compare insulation performance across different rooms is an accessible and effective way to understand how a building manages heat. By following consistent inspection procedures, examining key structural surfaces, and interpreting temperature patterns carefully, homeowners can identify potential weaknesses and make better-informed energy improvement decisions.
Ultimately, the greatest value of thermal imaging lies in turning invisible temperature differences into actionable information. Regular inspections, accurate documentation, and professional verification of suspicious findings can help improve indoor comfort, reduce unnecessary energy consumption, and support a more efficient and sustainable home.