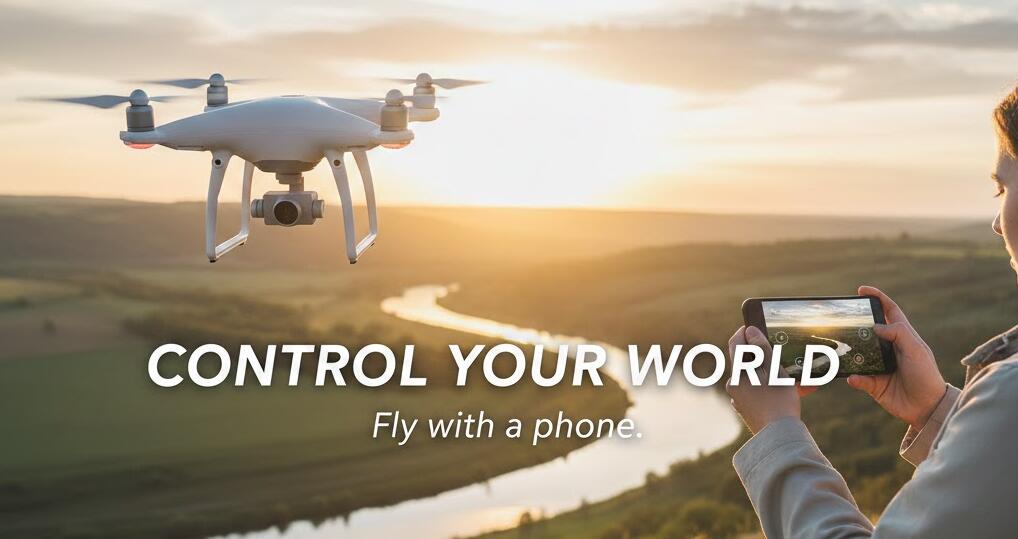
Wanna control a drone with your phone? Here's how to connect
Welcome to Blackview (Which offers rugged phone, such as phone with projector and thermal camera phone, and more) blog. Hope the guide helps.
Flying a drone used to require a dedicated remote controller, a bit of technical know-how, and sometimes even a laptop for advanced settings. Today, things are much simpler. Most modern consumer drones can connect directly to your smartphone, turning it into a powerful control hub with live video, flight telemetry, camera settings, and intelligent flight modes all in one place. If you’re new to drones, learning how this connection works is the first step toward unlocking their full potential.
- Read also: How to connect phone to projector wirelessly?
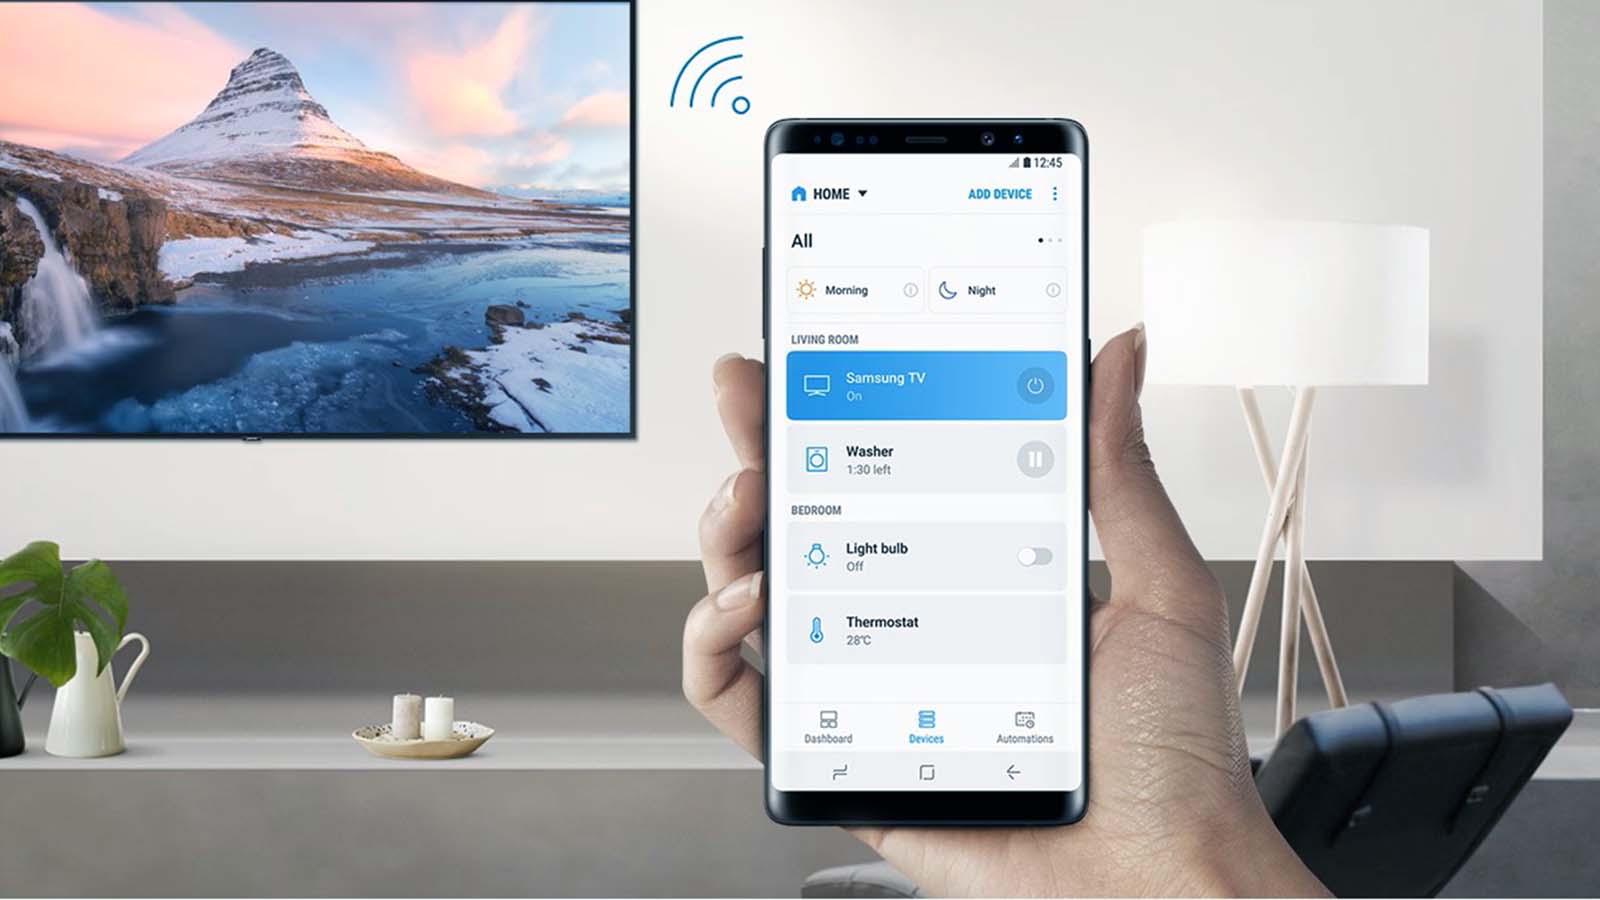
- How can I share my data with another phone?
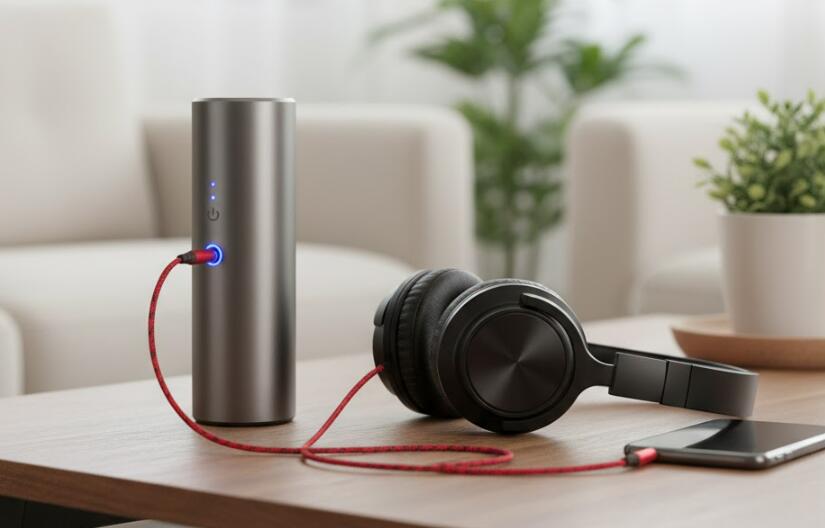
- How to control smart lights with phone?
Using your phone to control a drone doesn’t just replace the physical controller—it enhances the experience. You gain access to real-time maps, automated flight paths, one-tap cinematic shots, and instant media sharing. Whether you’re flying for photography, travel, or just for fun, understanding how to properly connect your drone to your phone ensures a safer flight, better video quality, and fewer frustrating disconnects.
Understanding how phone-to-drone connections work
Before pairing your devices, it helps to know what’s happening behind the scenes. Drones typically connect to smartphones in one of three ways: via Wi-Fi, through a dedicated remote controller that links to your phone, or by using a direct USB cable connection. Each method affects range, signal stability, and video quality.
Wi-Fi connections are common in entry-level drones. They are simple to set up because your phone connects to the drone just like it would to a home network. However, they usually offer shorter range and are more prone to interference. Mid-range and professional drones often use a remote controller that creates a stronger radio link to the drone while your phone connects to the controller. This hybrid setup provides better stability and longer flight distances.
USB or wired connections between your phone and the controller are typically the most reliable. They reduce latency, improve video transmission quality, and prevent random disconnections that can occur with wireless phone links.
What you need before connecting
Preparation makes the connection process smooth and prevents mid-air issues. Make sure your drone battery, controller (if included), and smartphone are fully charged. Low power can interrupt pairing or cause signal drops during flight.
You should also install the official flight app for your drone model. This app is essential because it acts as the interface between your phone and the aircraft. It handles firmware updates, camera controls, GPS mapping, and safety features like return-to-home.
Finally, check that your phone’s operating system is compatible with the drone app. Older devices may connect successfully but struggle with live video processing, resulting in lag or app crashes.
Step-by-step: Connecting your drone to your phone
The exact steps vary slightly by brand, but the overall process is very similar across most consumer drones.
1. Power on in the correct order
Turn on the drone first and place it on a flat surface. If your drone uses a remote controller, power that on next. Your phone should be the last device you activate. This order ensures the app detects the aircraft and controller correctly.
2. Connect your phone to the controller or drone
If you’re using a controller, plug your phone into it with the appropriate cable or connect via Wi-Fi if the controller supports it. For Wi-Fi-only drones, open your phone’s Wi-Fi settings and join the network that matches your drone’s name.
3. Launch the flight app
Open the official app and wait for it to recognize the drone. Most apps display a “Ready to Fly” or similar status once the connection is successful. You should also see a live camera feed from the drone.
4. Calibrate and check settings
Before takeoff, calibrate the compass if prompted, confirm GPS signal strength, and set your return-to-home altitude. These steps are critical for safe flying and are easily managed through your phone screen.
Optimizing the connection for better performance
A strong connection isn’t just about pairing devices—it’s about maintaining signal quality throughout the flight. Start by minimizing interference. Avoid flying near large Wi-Fi networks, power lines, or metal structures, as these can weaken the link between your phone and the drone system.
Enable airplane mode on your phone (while keeping Wi-Fi on if required). This prevents incoming calls or background data from interrupting the flight app. Close other running apps to free up processing power for video transmission.
Screen brightness also matters. A brighter screen helps you see telemetry and framing clearly outdoors, but it consumes more battery. If you plan a long flight session, consider bringing a power bank to keep your phone charged between flights.
Using your phone as a smart flight control center
Once connected, your phone becomes far more than a joystick replacement. It provides intelligent flight modes that automate complex maneuvers with a single tap.
Features like subject tracking, waypoint navigation, orbit shots, and cinematic pre-sets allow beginners to capture professional-looking footage without manual piloting skills. You can also adjust camera parameters such as ISO, shutter speed, white balance, and resolution directly from the touchscreen.
Another major advantage is real-time mapping. Your phone’s GPS works alongside the drone’s positioning system to display your aircraft on a map, helping you maintain orientation and comply with local flight regulations.
Troubleshooting common connection problems
Even with modern technology, connection issues can happen. The most common problem is the app failing to recognize the drone. This is often solved by restarting all devices in the correct order: drone, controller, then phone.
If the video feed is lagging, switch to a lower transmission quality setting in the app. This reduces bandwidth usage and stabilizes the connection. Also ensure you’re using a high-quality cable if your setup relies on a wired link.
Firmware mismatches can also prevent successful pairing. Regularly check for updates for both the drone and the controller through the app to maintain compatibility and improve signal performance.
Safety tips when flying with phone control
Using a phone makes flying easier, but it also introduces distractions. Always maintain visual line of sight with your drone rather than relying solely on the screen. Notifications, glare, or app lag can momentarily obscure critical flight information.
Set a return-to-home point before takeoff and monitor battery levels closely. Your phone will display warnings, but you should plan to land with a safe margin rather than waiting for automatic alerts.
Finally, be aware of local drone regulations. Many flight apps include built-in geofencing and airspace warnings, which help you avoid restricted zones and fly responsibly.
Connecting your drone to your phone transforms the way you fly. What once required specialized equipment is now accessible through a device you already carry every day. With the right setup, your phone becomes a live cockpit display, camera control panel, navigation map, and safety monitor all at once.
Mastering this connection not only improves flight stability and video quality but also opens the door to intelligent features that make aerial photography easier and more creative. Take the time to prepare your devices, learn your app’s interface, and practice in an open area. Once everything is dialed in, you’ll experience smoother flights, stronger signals, and far more control over every shot you capture from the sky.