Easy guide of Changing Language in your Google Assistant
Welcome to Blackview (A famous brand of rugged smartphone) blog. Hope this "Google Assistant language setting" guide helps.
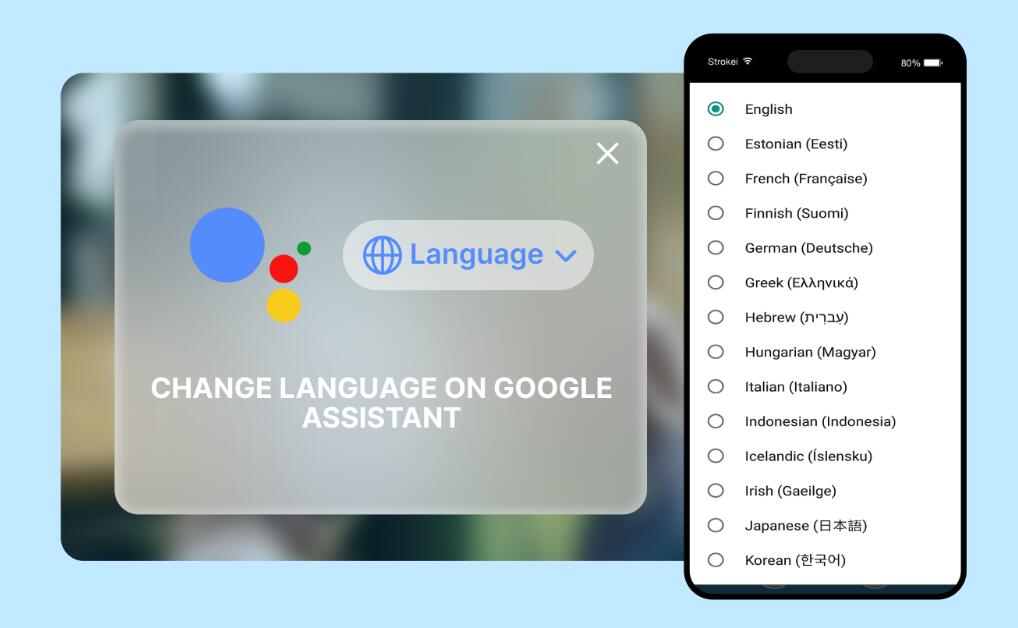
Want to converse with your Google Assistant in your native tongue? Changing the language setting allows for a more natural and personalized interaction. This guide will walk you through the simple steps to switch between languages in your Google Assistant.
Step 1: Open the Google Assistant Settings:
- On your Android phone/tablet, launch the Google Assistant app. You can typically access it by long-pressing the home button or using the "Hey Google" voice command.
- Alternatively, you can open the Google Assistant settings by tapping on the Google app icon and then selecting the "More" option (three horizontal lines) at the bottom-right corner of the screen. From the expanded menu, choose "Settings."
Step 2: Access Assistant Settings:
In the Google Assistant settings menu, tap on the "Assistant" tab located at the top of the screen.
Step 3: Language Settings:
- Scroll down within the Assistant settings until you find the "Assistant devices" section. Tap on "Phone" or "Assistant on [device name]."
- In the device-specific settings, locate and tap on the "Languages" option.
Step 4: Choose Your Preferred Language:
- On the "Languages" screen, you will see the currently selected language. Tap on the "Add a language" or "+" button to add a new language to your Google Assistant.
- Search for your preferred language in the list of available languages or use the search bar at the top to find it more quickly.
- Once you find your desired language, tap on it to select it as your primary language for Google Assistant.
Step 5: Reorder Language Preferences (Optional):
If you've added multiple languages, you can easily customize their order. Simply tap and hold a language and drag it to your preferred position in the list. This determines the priority of languages when you interact with multilingual content.
Step 6: Confirm and Apply Changes:
After selecting your preferred language, tap on the checkmark or "Done" button at the top-right corner of the screen to confirm and apply the language changes.
Step 7: Test the New Language:
- Activate Google Assistant by saying "Hey Google" or by using the designated activation command.
- Interact with Google Assistant in the newly selected language and verify that the responses and actions are now provided in the desired language.
Note: The availability of languages and features may vary depending on your device, region, and the version of Google Assistant.
- Related: How to change region on Android?
- How to download an APP not available in your country?
- How do you change country location in Amazon app?
By following these steps, you can easily change the language settings in Google Assistant to communicate with the virtual assistant in your preferred language. Enjoy a more personalized and convenient experience as you interact with Google Assistant in the language of your choice. Extending reading: Here is the guide on fixing Google Assistant something went wrong.


